TennaFLEET Tracker Installation
How to install the TennaFLEET tracker (#GMS-OBDJ-01, #GMS-OBDJ-02, #GMS-OBDJ-03, #GMS-OBDJ-04).
Important! We strongly recommend that Tenna hardware only be installed by a Tenna Certified mechanic. Contact your Tenna Rep to learn more about our Mechanic Certification program.
Pro Tip! Review our Tracker Installation Best Practices before installing a Tenna tracker.
Important! If you are installing the tracker as part of an ELD solution, please contact your Customer Account Manager first.
In this article:
Safety Information
Warning
- Follow established safety precautions for operating and servicing the equipment on which you are installing this Tenna product.
- Do not mount any devices or run any cabling which may interfere with an asset’s safety guards or shields.
Caution
- Re-tighten any screws loosened during installation.
- Replace any safety devices removed during installation
Important Installation Notes
- Do not install the tracker while the vehicle ignition is on.
- To prevent damage to the pins when installing or removing the tracker, be careful not to twist or tilt the tracker as it enters or exits the corresponding connector on the vehicle or the adapter cable.
Tools and Materials Required
- Mobile device with Tenna App installed
- Laptop or desktop PC for verification
- Cable ties or hook-and-loop fasteners
- Socket wrench
- For Non-OBD Install:
- Add-a-fuse and 3-amp fuse
- Eyelet fasteners
- Pliers
Hardware Included
- TennaFLEET tracker
- Appropriate Y-Cable Adapter (provided as determined from asset to tracker match):
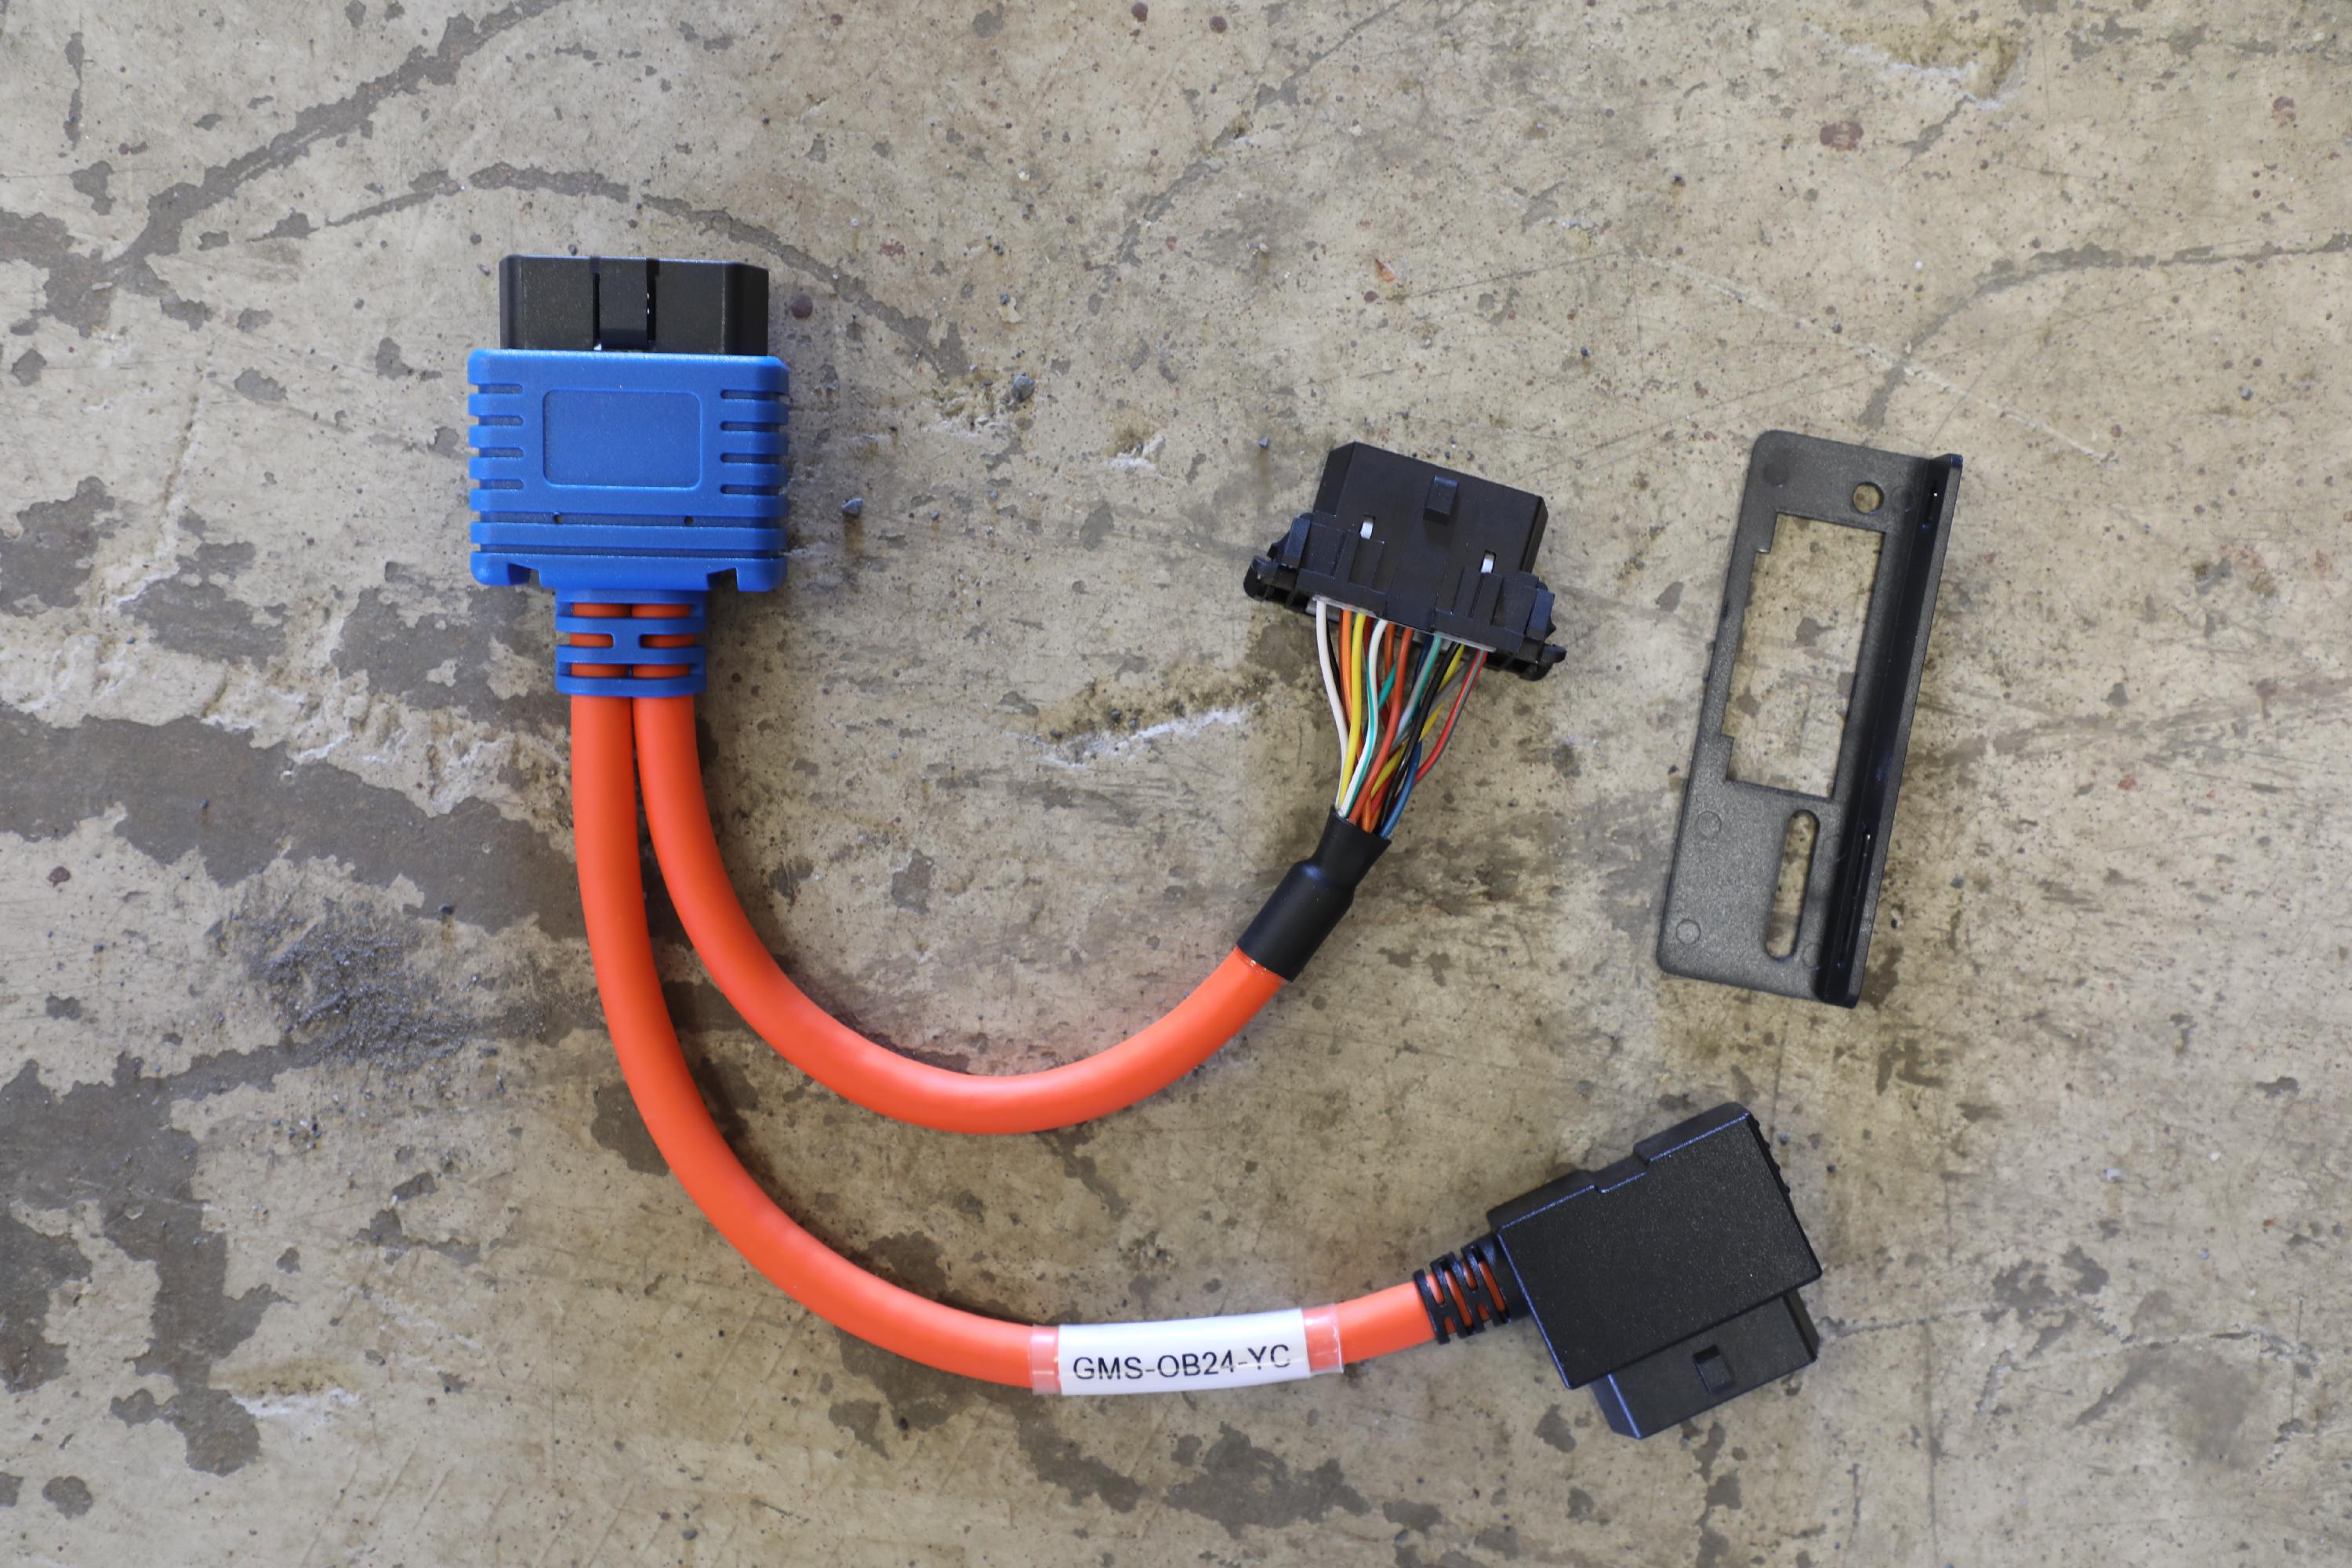
- OBD II to OBD II Y Cable (12V/24V) (GMS-OB24-YC)
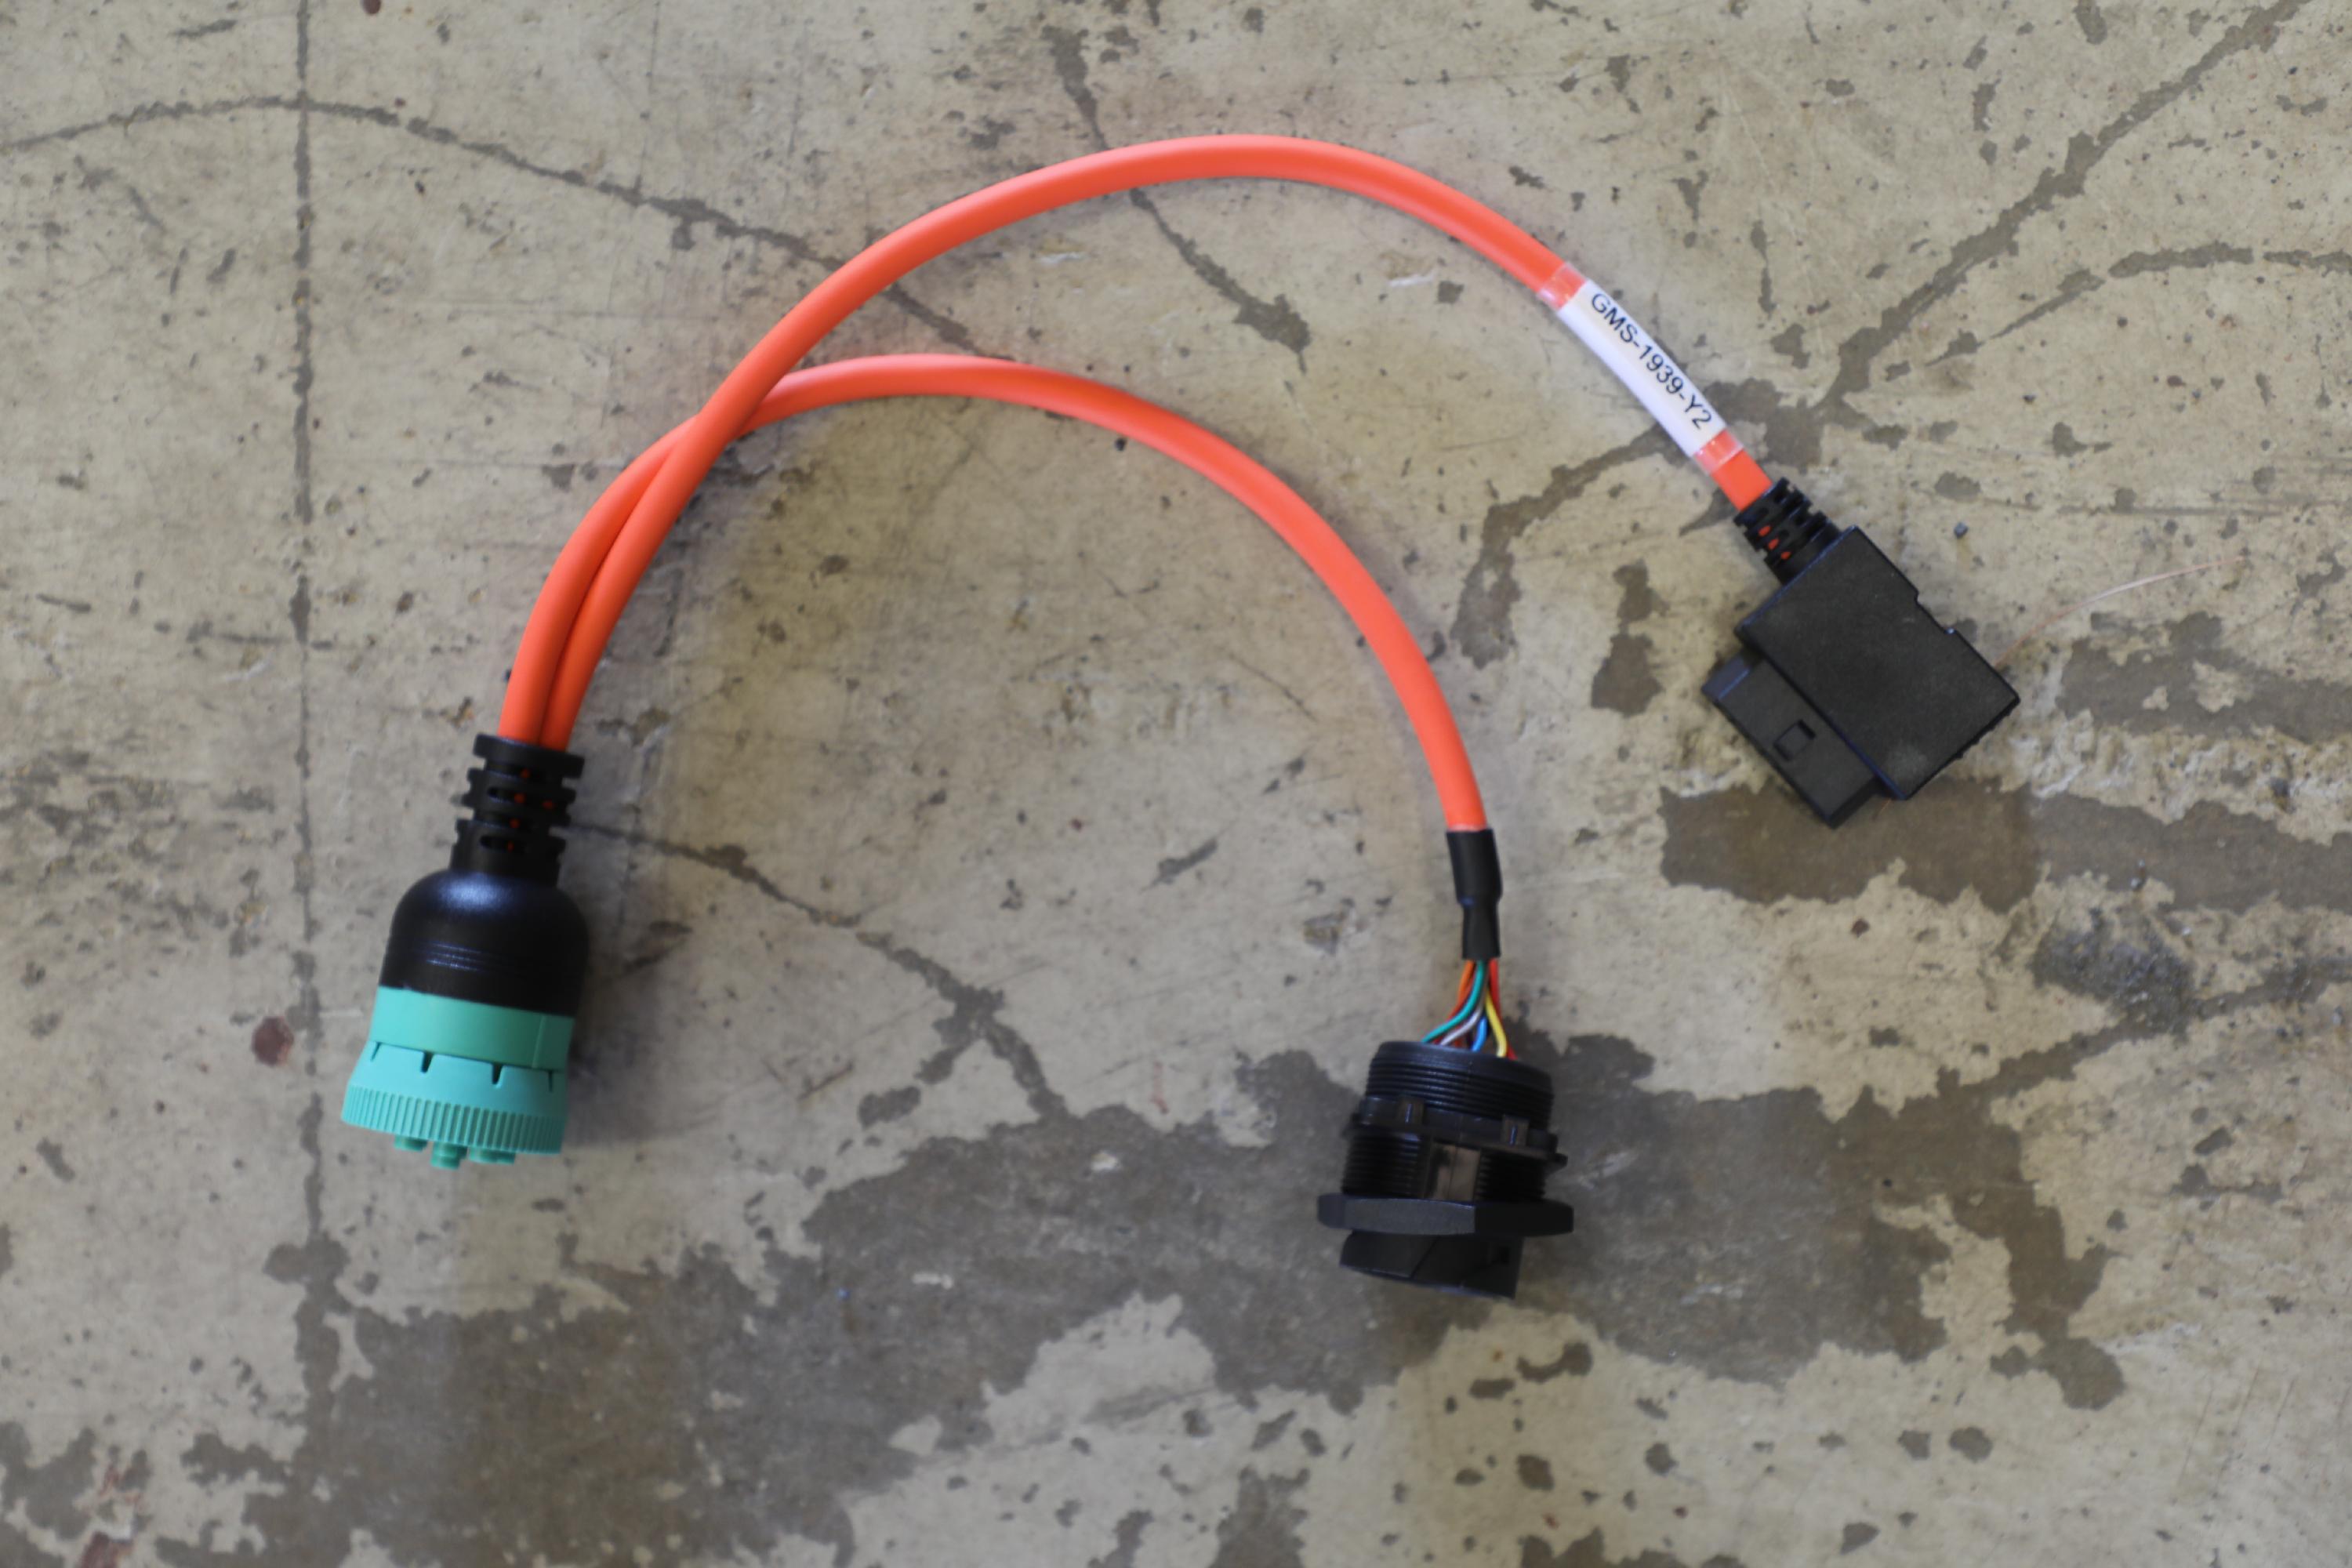
- OBD II to J1939 Y Cable Type 2 (GMS-1939-Y2)
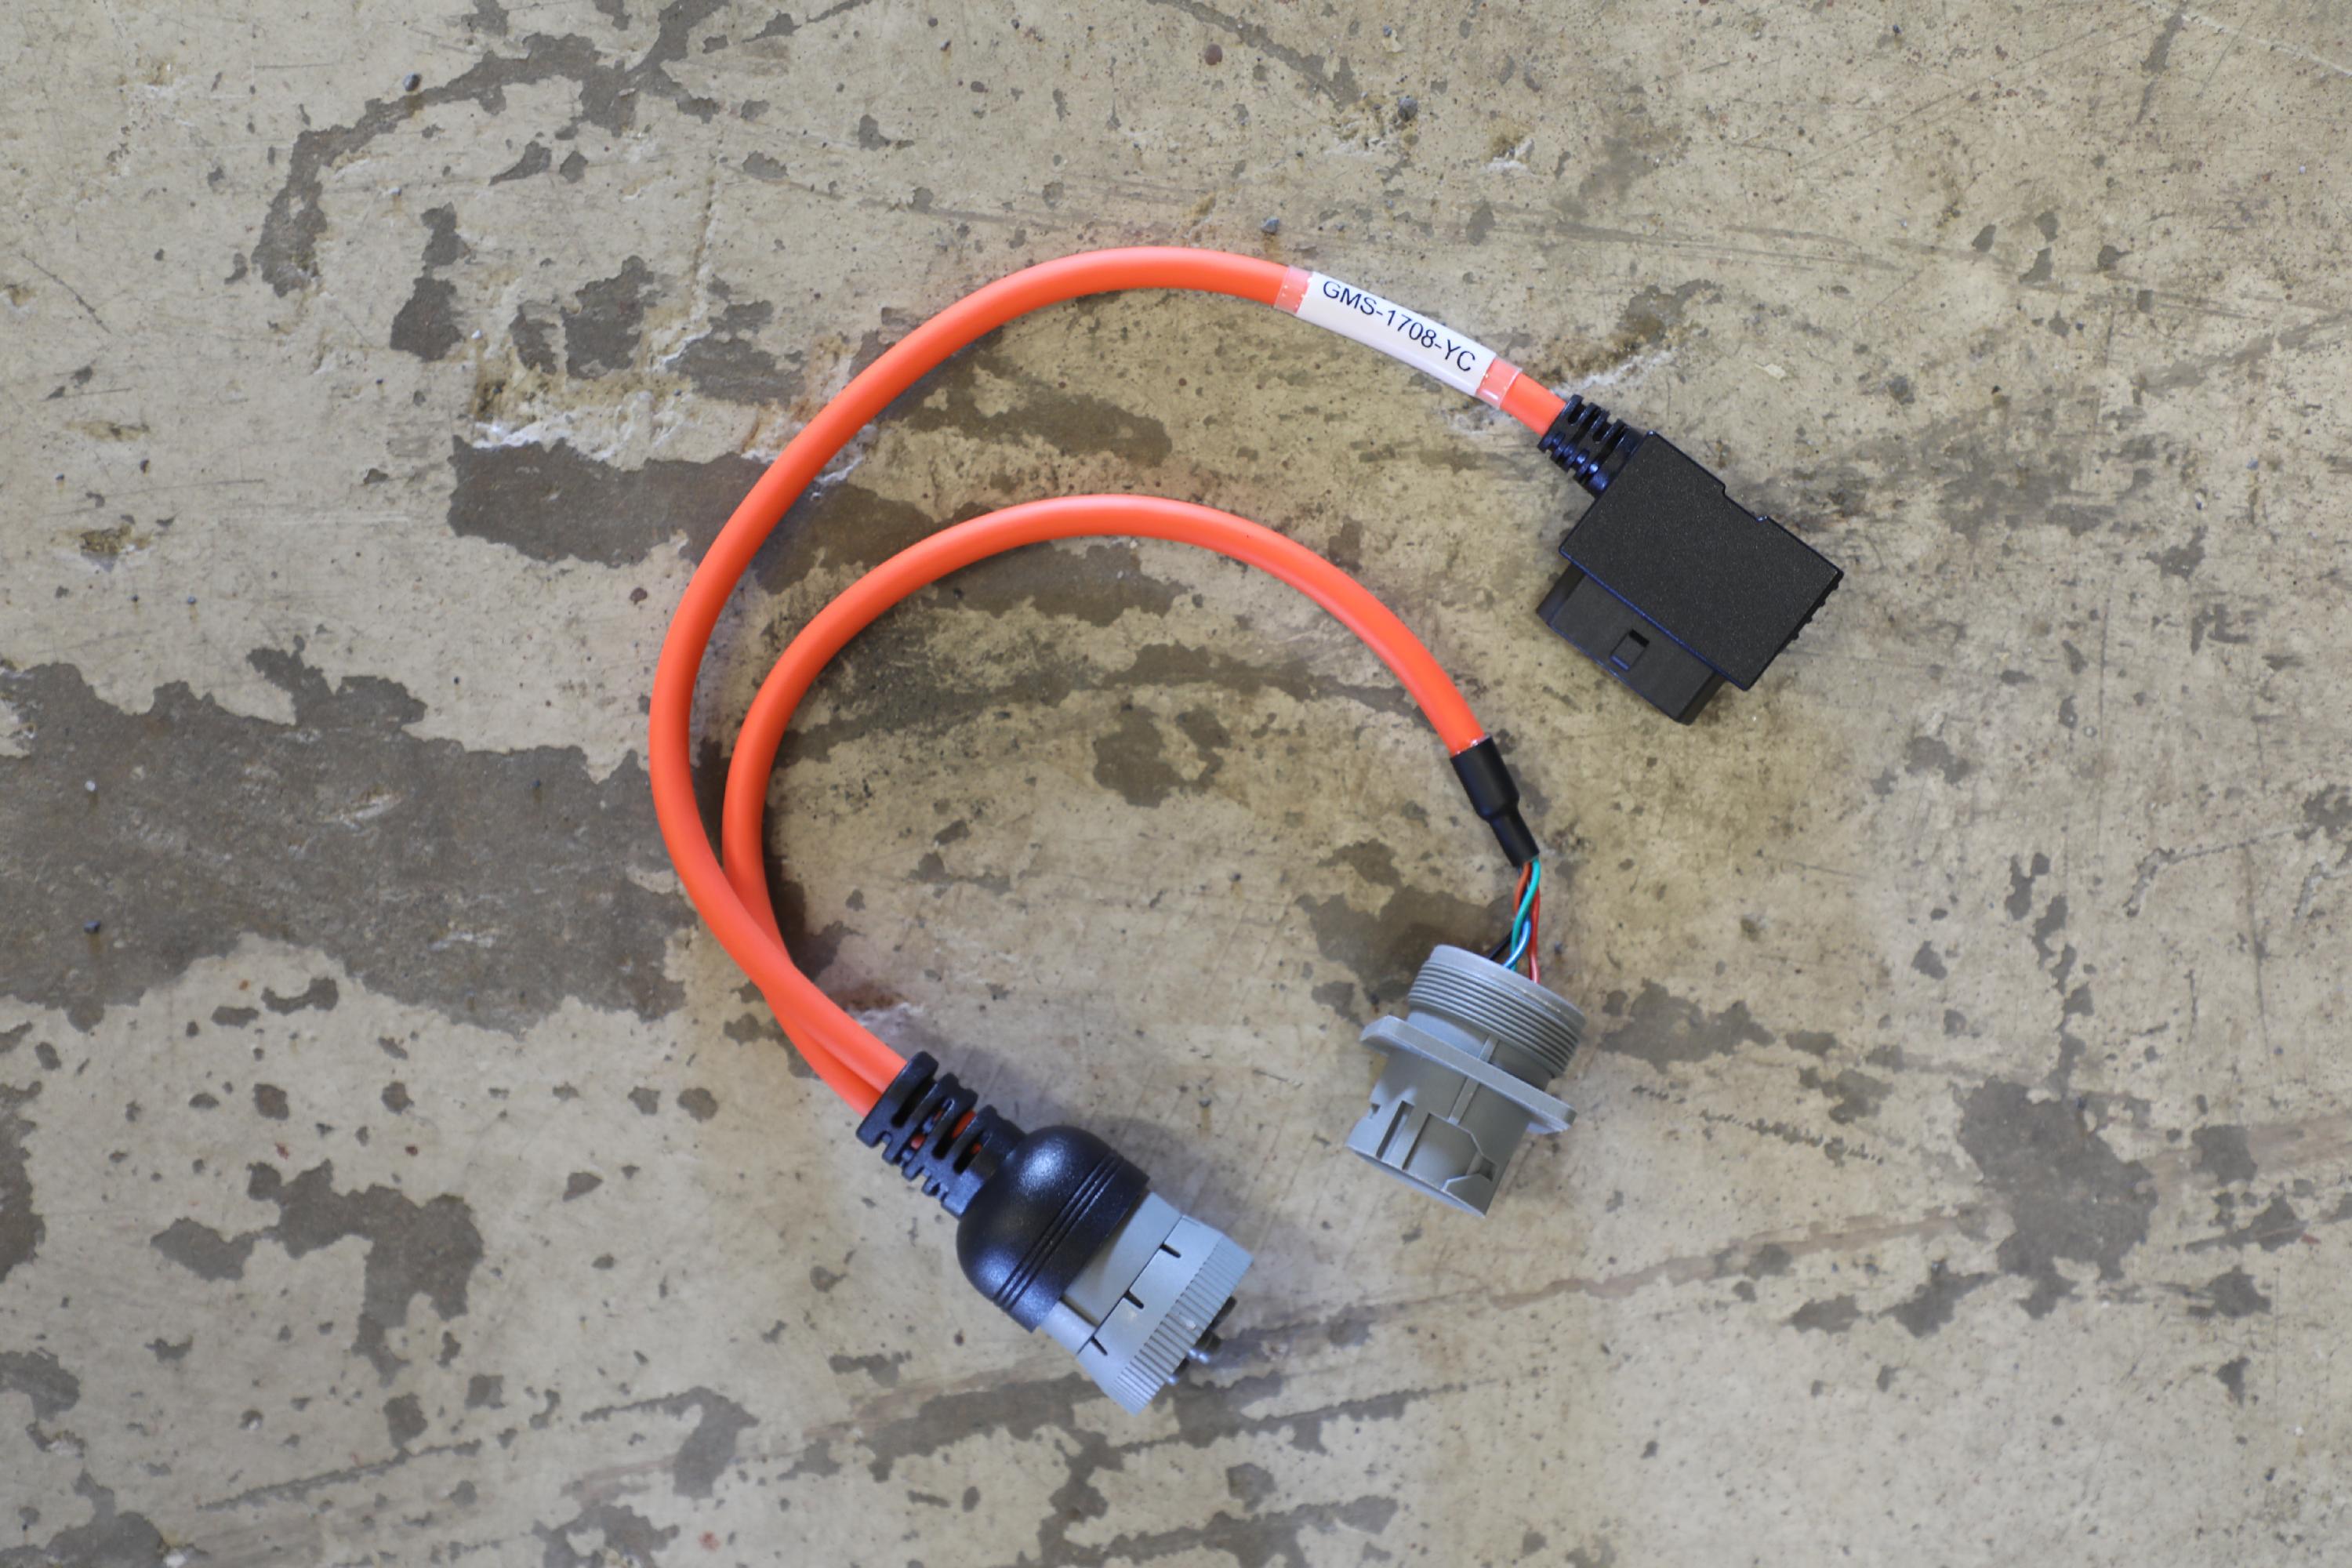
- OBD II to J1708 Y Cable (GMS-1708-YC)
- OBD II to RP1226 Y Cable (GMS-RP14-YC)
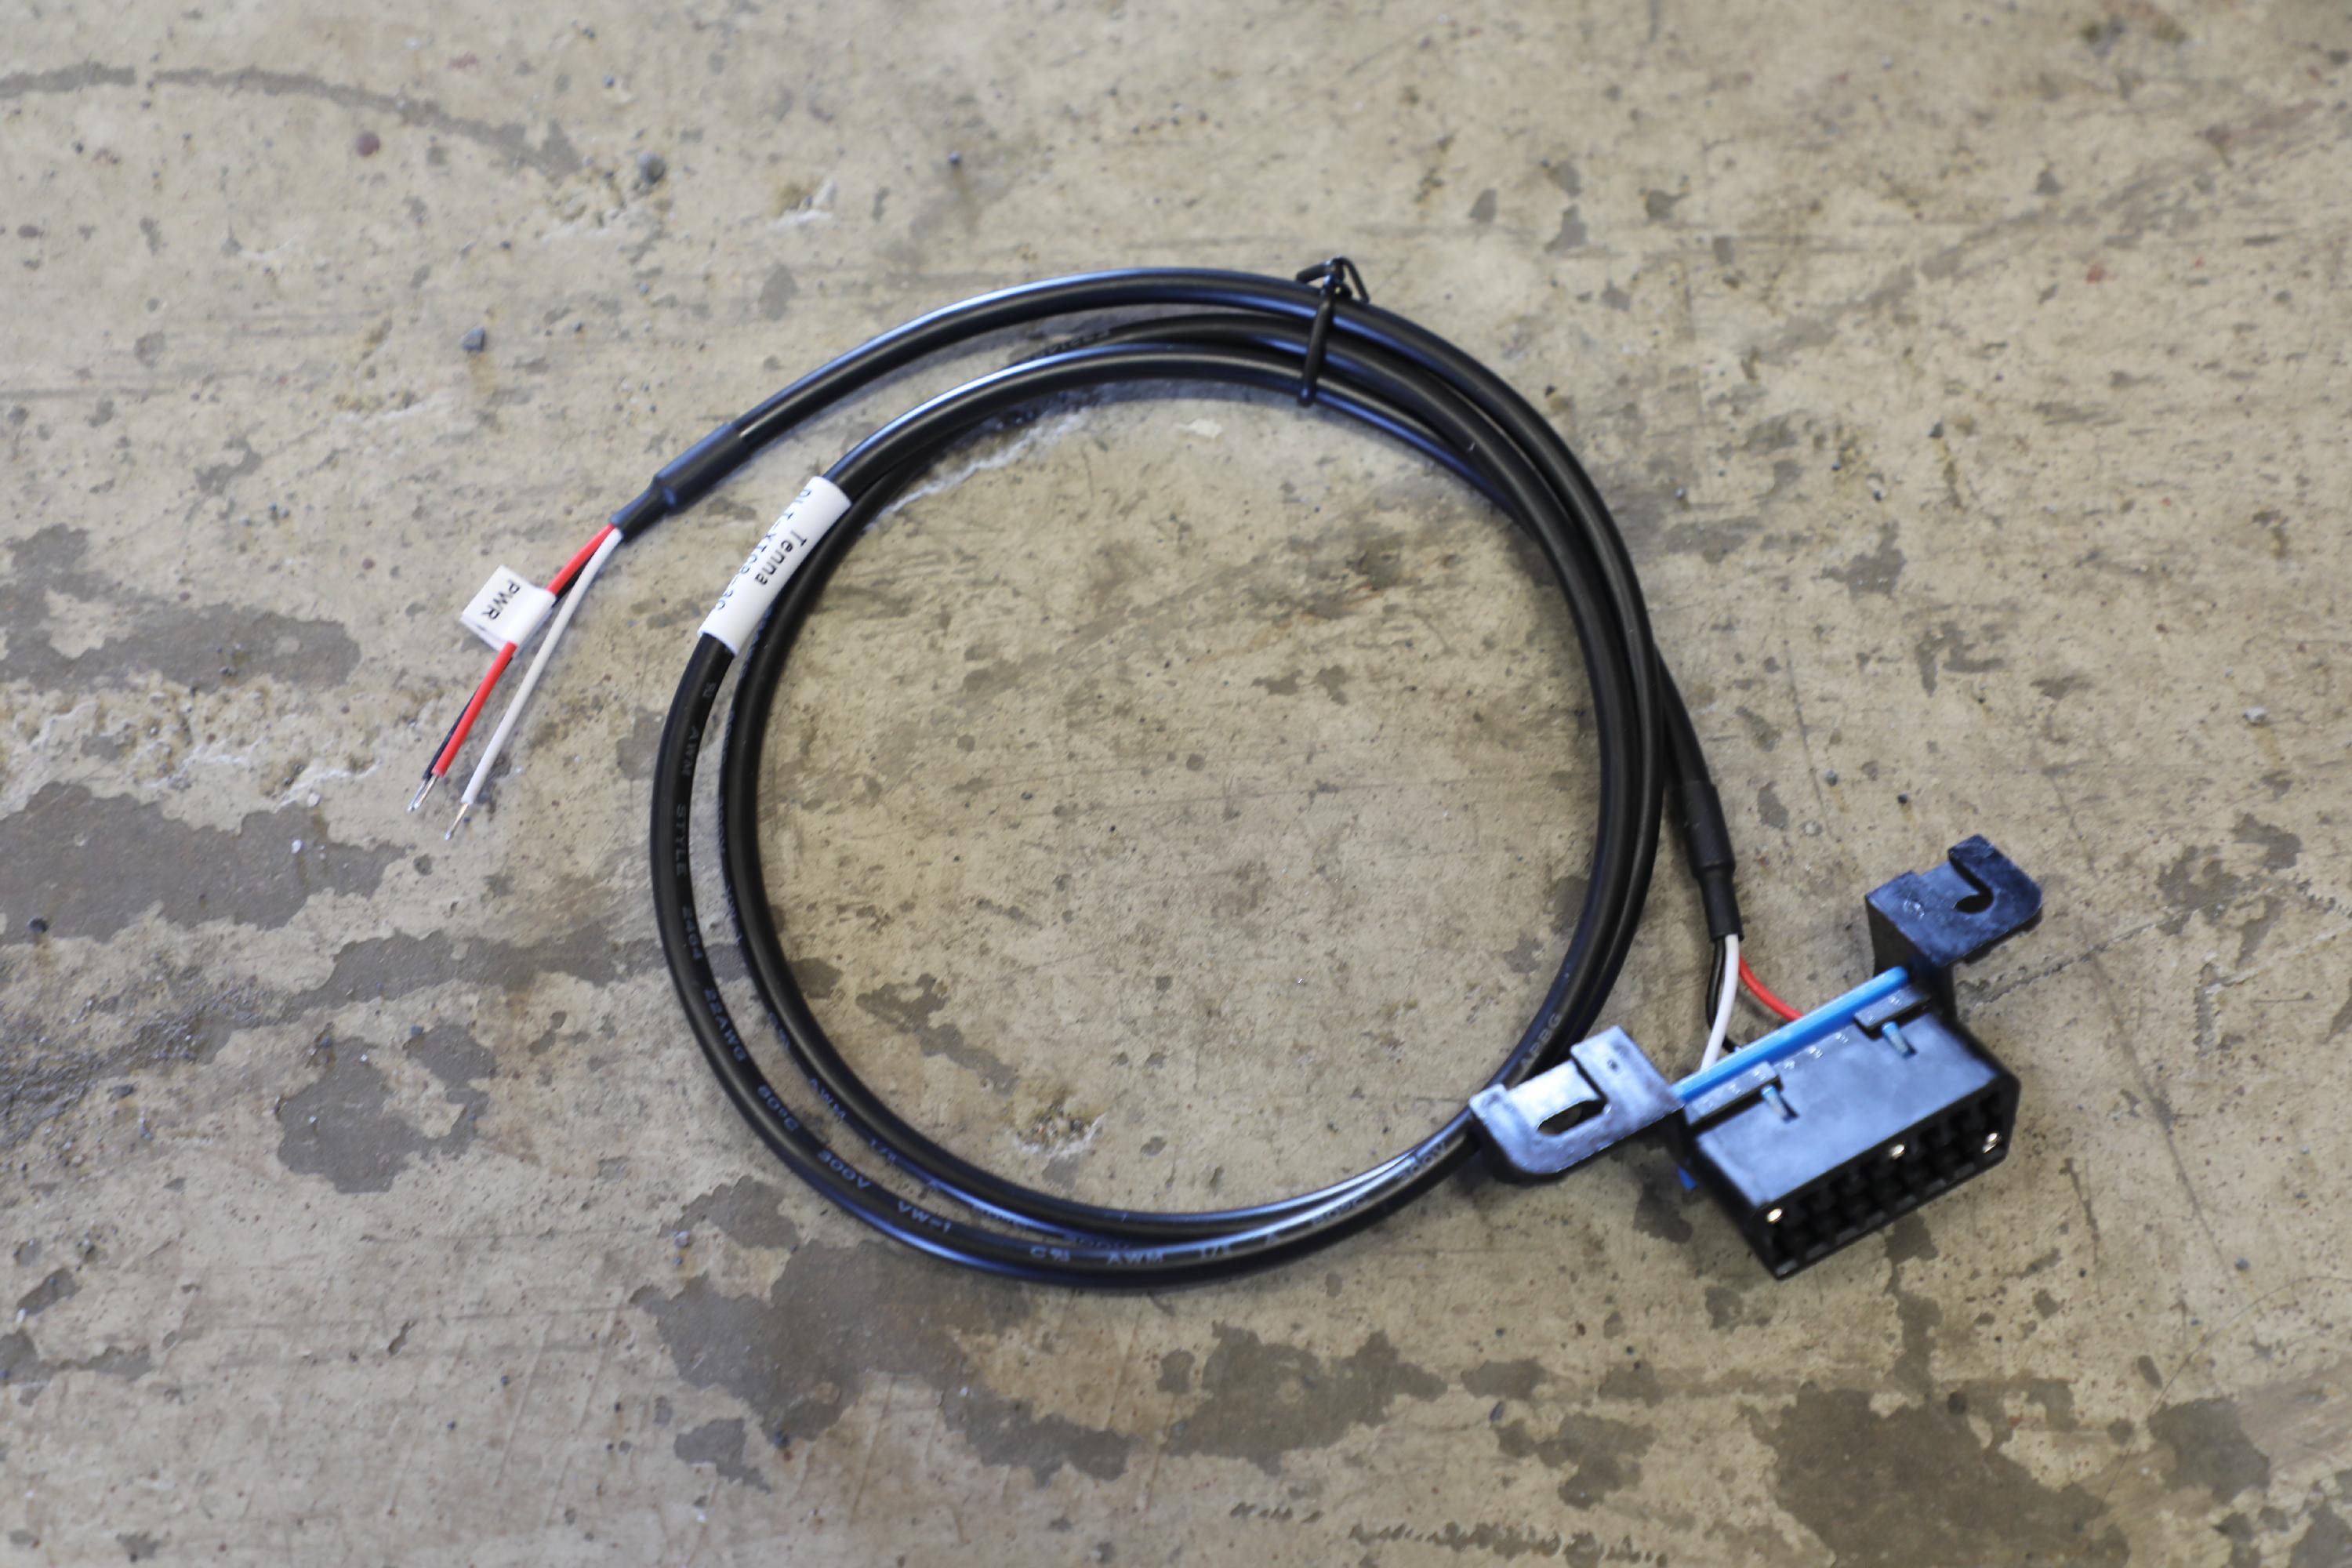
- Non-OBD 2-Wire Cable/OBD Socket (GMS-XTCB-03)

Installation Instructions
Step 1. Link the tracker to the asset in the Tenna App
- Go to where the asset is located (so that you can see and touch the asset).
Note: Being in physical proximity to the asset helps ensure that you link the tracker to the intended asset.
- Open the Tenna App on your mobile device and log in.
- Using the Search function, find and select the asset that you want to track with this tracker.
- From the Asset page, tap "Add Tracker".
- Follow the prompts along with these installation instructions.
📸 Capture Odometer Photo
At this point, you will be required to capture a photo of the asset's current reading on the odometer. This is important for verifying the reading at the time of installation and troubleshooting in the future. When taking a photo, remember the following:
- Make sure the photo is clear (not blurry) and well-lit
- Make sure you can read the numbers in the photo

Step 2. Install the tracker.
- Park the vehicle outside in a location with an unobstructed view of the sky.
Important! If the vehicle does not have a clear view of the sky, setup might take longer or could fail.

- Turn off the ignition and remove the key from the ignition switch.

Jump to instructions for your vehicle's specific port:
JBUS Compatible
- Locate the vehicle’s JBUS port.
Note: In most vehicles, the JBUS port is located near the steering column. In some cases, the port might be located behind an access door.

- Remove the vehicle's OEM JBUS port.

- Connect the provided y-cable to the vehicle’s OEM JBUS port.
- For J1939 (9-pin) port: Insert the adapter cable’s green JBUS connector into the vehicle’s JBUS port; then turn the connector collar to lock the cable to the port.
- For J1708 (6-pin) port: Insert the adapter cable’s gray JBUS connector into the vehicle’s JBUS port.

- Replace the OEM JBUS port with the JBUS port on the provided y-cable.
If mounting to the bulkhead, snap the provided plastic connector to the JBUS port on the y-cable and then remove the nut.

Place the port in the original location and use the plastic nut to secure in place.

- Connect the TennaFLEET tracker to the OBD port on the y-cable.

Pro Tip! Once the TennaFLEET tracker has been plugged in, watch the LED lighting sequence on the side of the tracker. After initial bootup, you should see a blinking green light. Do not proceed until you see the green light. View Tracker Troubleshooting Guide for more information on LED behavior.

OBD Compatible
- Find the vehicle’s OBD port.
Note: In most vehicles, the OBD port is located on the driver’s side, below and to the left side of the steering column. In some cases, the port might be located behind an access door.

- Remove the vehicle's OEM OBD port using a socket wrench.

- Replace with the OBD port on the provide y-cable.

- Connect the blue OBD socket on the y-cable to the vehicle's OEM OBD port.

- Connect the TennaFLEET tracker to the OBD port on the OBD II to OBD II Y Cable (12V/24V) (GMS-OB24-YC).

Non-OBD Compatible
- Connect the red wire of the y-cable to a constant power source.
This could be directly to the battery or the fuse panel using a add-a-fuse and a 3 amp fuse.


- Connect the black wire from the y-cable to a good ground source.
This could be directly to the battery or a solid, clean metal chassis ground source.

- Connect the TennaFLEET tracker to the OBD port on the Non-OBD 2-Wire Cable/OBD Socket (GMS-XTCB-03).

Step 3. Activate and test the tracker.
- Turn the asset's ignition on to activate the tracker.

- Allow the vehicle to idle for 2-3 minutes.
- With the ignition still on, drive the vehicle at least two miles.
Important! Drive on mapped roads so that the GPS tracking can be verified.
- Park the vehicle outside in a location that provides a clear view of the sky.
- Turn off the ignition and remove the key from the ignition.
- Record the following information about the test drive:
- The time the test drive ended
- The current mileage displayed on the vehicle’s odometer
- The route driven
Important! Do not turn the vehicle's ignition on once the test cycle is completed and until the tracker verification is completed. Doing so will result in inconsistent data.
- Secure the tracker and cables using cable ties (if necessary). In most vehicles, the tracker and cables can be secured under the dash so that it is hidden and out of the way of the driver.

📸 Capture Installation Photos
At this point, you are required to capture photos of the installation in the Tenna App. These photos are very important for troubleshooting in the future. Make sure the photo is clear (not blurry) and well-lit.
- Take a close-up picture of tracker securely mounted with zip ties (before re-installing any removed panels)
- Take a set back picture of the tracker securely mounted with zip ties (with view of the DLC)


- Other recommended photos (if applicable): Serial No/VIN of the asset, license plate, insurance/registration cards, location of inspection QR codes, etc.
Step 4. Verify the tracker.
- Complete the remaining steps presented in the Tenna App to finalize and submit the installation for verification.
- Complete the verification in Tenna using a laptop or desktop computer.