How to Assign/Un-Assign a Tracker to an Asset (App)
In order for a tracker to report to Tenna for the correct asset, it must be assigned to that asset. Users may assign a tracker to an existing asset or create and assign it to a new asset on the Tenna App. When uninstalling a tracker, the user must un-assign the tracker from the asset.
Important! Trackers must be assigned to assets before they can be installed and verified.
Permission Requirements: Users with the "Assign a Tracker to an Asset" permission.
NOTE: If you are trying to perform asset actions in Tenna on a desktop, see How to Perform Asset Actions (Assign, Categorize, Transfer, and Status Change) (Desktop).
In this article:
How to Assign a Tracker to an Existing or New Asset
- 1
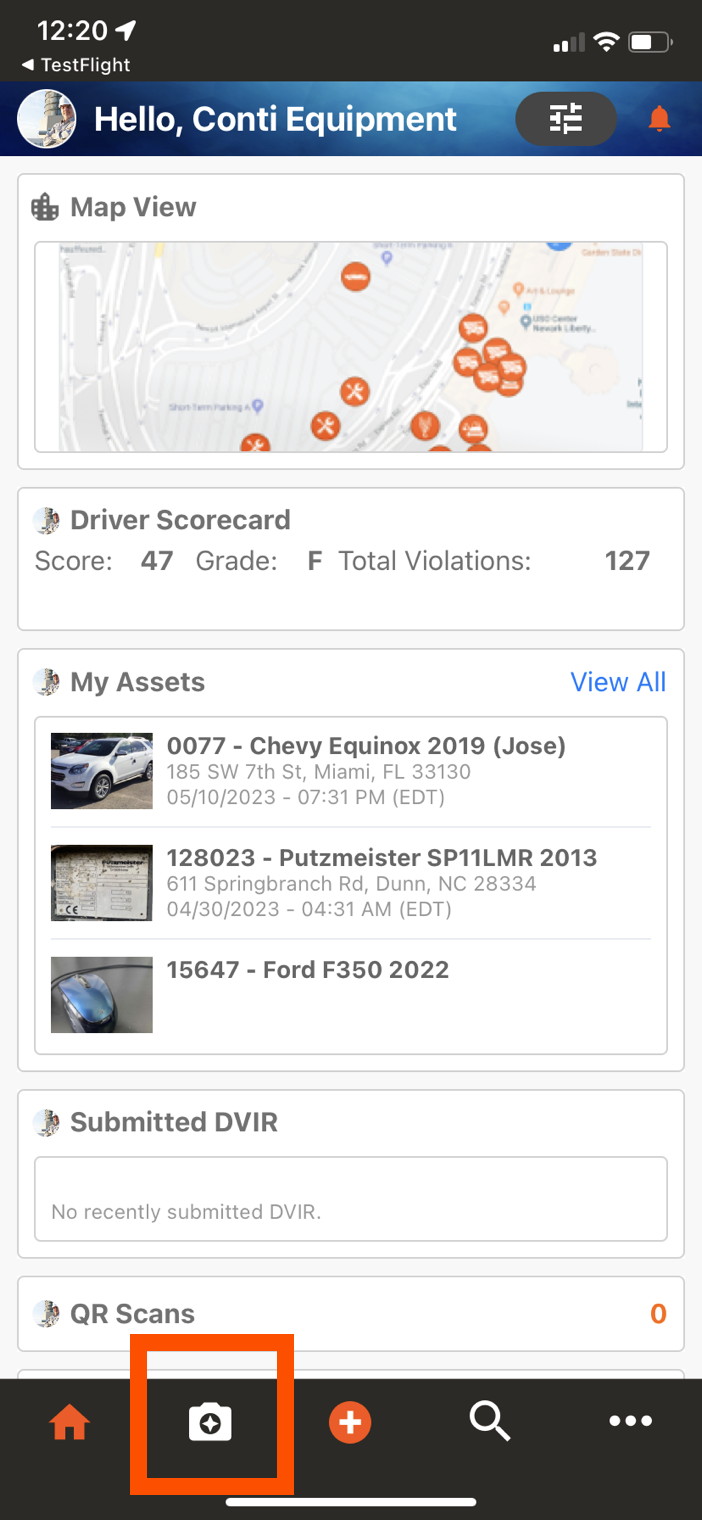
- On the Tenna App homepage, select the camera icon in the bottom navigation menu.
- 2
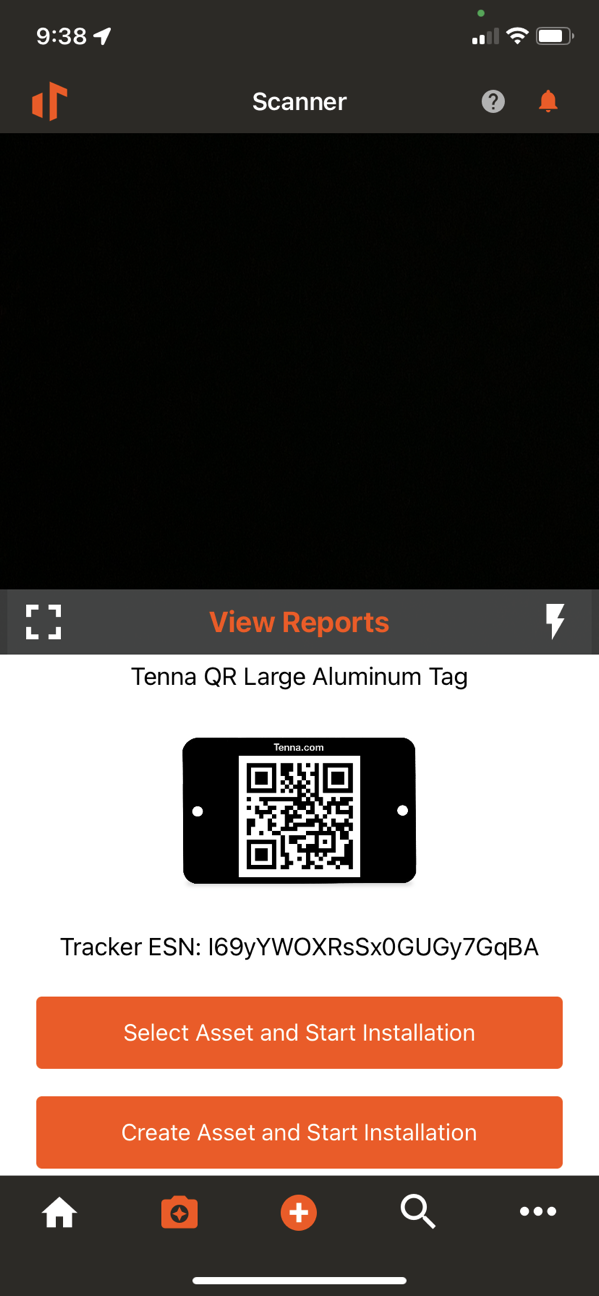
- Scan the QR code on the tracker.
A window will open with the tracker's ESN number and tracker type.
- 3
- Choose to "Select Asset and Start Installation" or "Create Asset and Start Installation"
If you are assigning the tracker to an existing asset, select "Select Asset and Start Installation". Search for the asset you would like to install this tracker to.

If assigning the tracker to a new asset, select "Create Asset and Start Installation".
Create a new asset according to the instructions in How to Create an Asset (App).
Upon creating the new asset, you will automatically be returned to the asset list to continue with the assignment process.
- 4
- Select the asset.
A warning message will be displayed. Selecting "Yes" will begin your installation process.

- 5
- Installation has begun. Complete the installation instructions as specified.
Refer to the tracker's installation instructions for more details.
How to Un-Assign a Tracker from an Asset
- 1
- Find the asset that the tracker is assigned to/installed on.
You can find the asset using the search bar on the Tenna App home screen.

- 2
- In the Asset Details page, select the tracker image in the top right corner.
This will open the Tracker Status.

- 3
- Tap on the Tracker Status.
This will open the Tracker Details page.

- 4
- Select "Remove Tracker".
A warning message will appear asking if you are sure you would like to remove the tracker. Select Yes.

- 5
- The tracker has been removed/unassigned from the asset. The Tenna App should return to the home screen.
NOTE: Un-assigned TennaCAM 2.0 will still show in Rosco Live even after un-assigned in Tenna. No additional action is necessary in Rosco. Users can simply re-assign and re-install the camera to another asset if they would like to use it again.