TennaQR (Tag | Label) Tracker Installation
How to install the TennaQR Tag (#TOO-QRAT-SM, #TOO-QRAT-LG) or Label (#TOO-QRLB-SM, #TOO-QRLB-LG) trackers.
Important! Tenna hardware should only be installed by a mechanic who is Tenna Certified for this specific hardware tracker.
Pro Tip! Review our Tracker Installation Best Practices before installing a Tenna tracker.
In this article:
Safety Information
Warning
- Follow established safety precautions for operating and servicing the equipment on which you are installing this Tenna product.
- Do not mount any devices or run any cabling which may interfere with an asset’s safety guards or shields.
Caution
- Re-tighten any screws loosened during installation.
- Replace any safety devices removed during installation.
Important Installation Notes
- To ensure proper adhesion, only apply the QR label in temperatures above 40°F.
- If screws are used, ensure that the back side of the mounting location provides adequate clearance. Be careful not to drive screws into coolant lines, radiators, electrical wiring, fluid tanks, or moving components.
Tools and Materials Required
Tools and Materials below are for TennaQR Tag and/or Label:
- Mobile device with Tenna App installed
- Laptop or desktop PC for verification
- Acetone-based cleaner
- Clean, absorbent rags or towels
Tools and Materials below are required for TennaQR Tag only:
- Materials for your chosen mounting method (screw, tape, epoxy or rivet) as listed below
For screw mounting:
- (2) #8 x 3/4-inch 410 stainless steel self-tapping screws
- Impact driver and 1/4-inch bit
For tape mounting:
- Cutting tool (scissors, side cutters, or knife)
- Double-sided Very High Bond (VHB) tape
- 3m primer pen
- Butane torch to heat surface (if installing in temperatures blow 50°F)
For epoxy mounting:
- JB weld/epoxy
- Two-part epoxy syringe
- Stirring implement
For rivet mounting:
- Drill
- 1/8” Drill bit
- Rivet gun
- Two 1/8” rivets
Hardware Included
- TennaQR Tag (small or large) or TennaQR Label (small or large)
Installation Instructions
Step 1. Link the tracker to the asset in the Tenna App
- Go to where the asset is located (so that you can see and touch the asset).
Note: Being in physical proximity to the asset helps ensure that you link the tracker to the intended asset.
- Open the Tenna App on your mobile device and log in.
- Using the Search function, find and select the asset that you want to track with this tracker.
- From the Asset page, tap Add Tracker.
- Follow the prompts along with these installation instructions.
Step 2. Determine the location on the asset to install the tracker
- The best location should:
- Be a flat surface
- Not collect excessive dust, dirt, grease, or oil during routine use of the asset.
- Be protected from impacts, abrasion, and excessive heat.
- Not be backed by any components that screws would damage (if mounting with screws), like coolant lines, radiators, electrical wiring, etc.
- Accessible to scan from a safe position (from the inside of the cab or standing on the ground).

Step 3. Clean the selected location.
- Scrape any loose debris from the surface.
- Use the acetone-based cleaner to remove grease, oil, and dirt from the mounting location.
- Wipe the area dry with a clean, absorbent rag or towel.

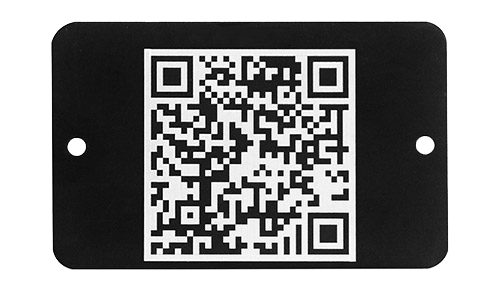
Step 4. Attach the QR Tag or Label to the selected and cleaned location.
TennaQR Label
- Remove the backing from the QR label and carefully stick the label to the surface.
- For best scanning results:
- Place the label as straight as possible.
- Orient the label so that the Tenna logo will be right-side up when you scan the label.
- For best scanning results:
- Smooth out any pockets of air.
TennaQR Tag
Follow the instructions for screws, VHB tape, or epoxy, depending on your preferred mounting method.
For best scanning results:
- Place the QR tag as straight as possible.
- Orient the QR tag so that the Tenna logo will be right-side up when you scan the tag.
Using self-tapping screws
Note: You can use self-tapping screws to mount the QR tag on steel that is up to 1/8-inch thick. For thicker steel, use VHB tape or epoxy instead of screws.
- Position the QR tag against the clean, dry surface of the asset.
- Using the appropriate bit size, pre-drill holes to avoid breaking self-tapping screws.
- Using an impact driver and 1/4-inch bit, drive the screws through the tag’s mounting holes and into the asset.

Using VHB tape
IMPORTANT: The ambient temperature must be above 50°F to ensure proper adhesion.
- Adhere VHB tape to the back of the QR tag and cut the tape to fit.

- Remove the backing from the VHB tape.
- Following the tape manufacturer’s recommendations, adhere the QR tag to the clean, dry surface of the asset.
Using epoxy
- Following the epoxy manufacturer’s instructions, dispense about a quarter-sized amount of epoxy directly onto the clean, dry surface where you will mount the tag.

- Thoroughly mix the epoxy resin and hardener to activate it.
- Spread the epoxy so that it covers an area that is slightly smaller than the size of the tag.
Note: Do not use excess epoxy to avoid leakage.
- With the QR side facing up, place the tag on the epoxy and apply pressure.

- Wait for the epoxy to set (usually five to ten minutes depending on the epoxy type and the ambient temperature).
Note: Wait for the epoxy manufacturer’s recommended cure time before using the asset.
Using rivets
- Mark the hole locations using your QR tag.
- Drill holes to match your rivet size.
- Fasten rivets with rivet gun.

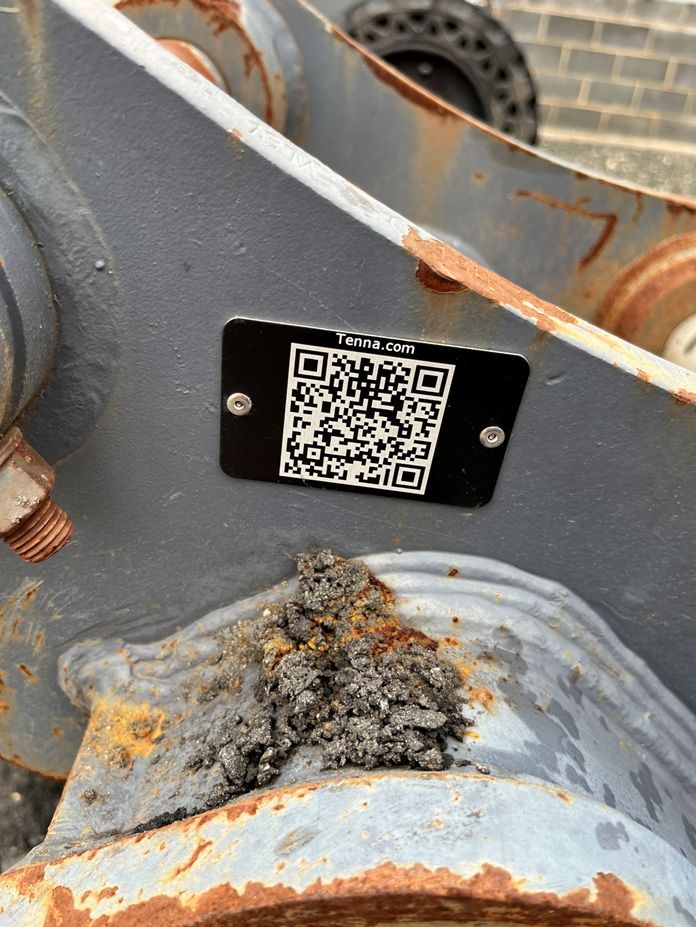
📸 Capture Installation Photos in Tenna App
At this point, you are required to capture photos of the installation in the Tenna App. These photos are very important for troubleshooting in the future.
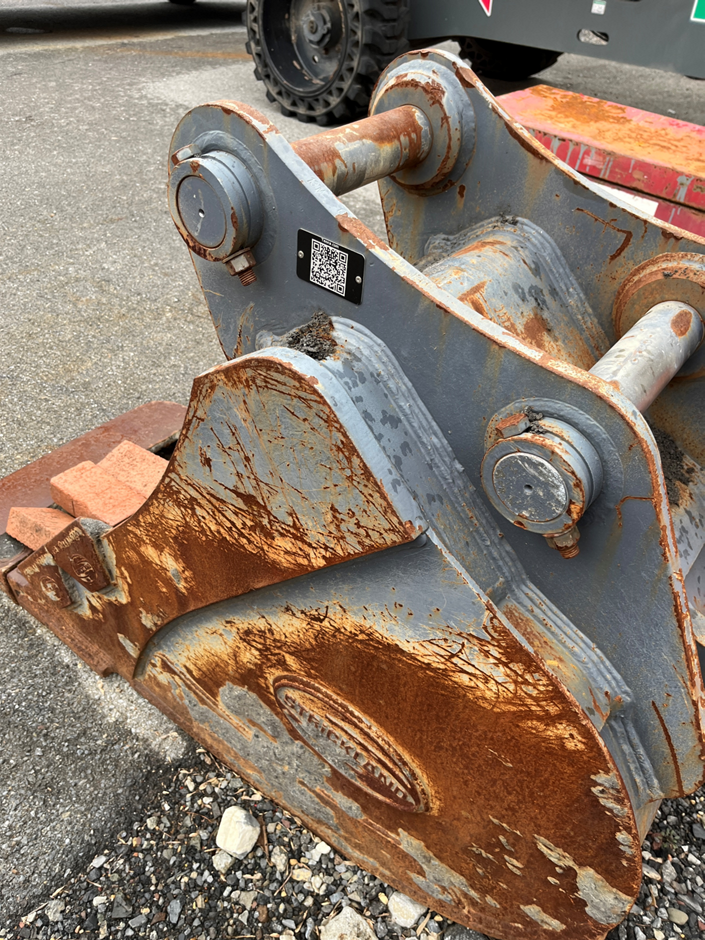
- Take a photo close up of the completed installation.
- Take a picture further back to show where the tracker is located on the asset.
Step 5. Complete installation.
- Complete the remaining steps presented in the Tenna App to finalize. TennaQR trackers do not need to be verified in Tenna.